Request a Quote
Send us a message if you have any questions or request a quote. Our experts will give you a reply within 24 hours and help you.
Picture this: you’re miles deep in the backcountry when an unexpected downpour soaks you and your gear. The temperature is dropping, night is falling, and you need fire—not just for comfort, but for survival. In this moment, your ferro rod fire starter transcends being just a piece of gear; it becomes your most critical lifeline. Unlike lighters that fail when wet or matches that turn to pulp, a ferro-rod operates on a brilliant principle of physics, throwing showers of 3,000°F (1,650°C) sparks regardless of being submerged. This guide is your masterclass in leveraging that reliability. We will walk through the systematic process, mindset, and advanced techniques required to coax a life-sustaining flame from a ferro rod in the wettest, most challenging conditions imaginable.
Looking for a reliable ferro rod manufacturer for your brand?
Compare factory pricing, MOQ options, and customization details before you commit.
No commitment · Reply within 24h · MOQ from 50 pcs
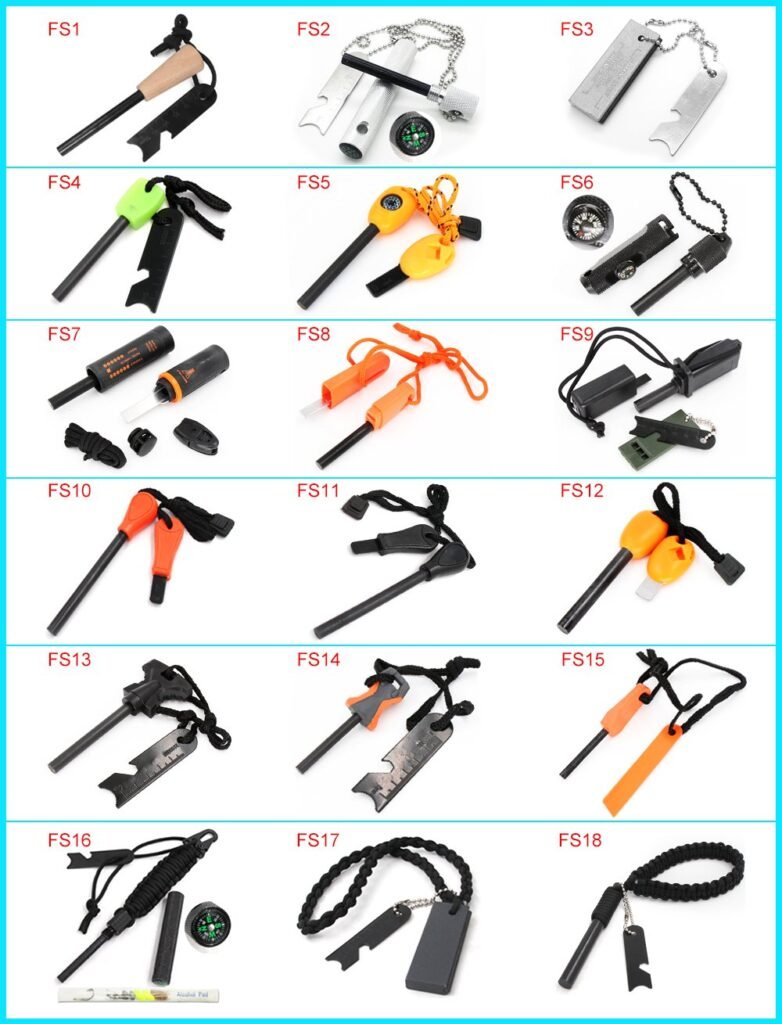
First, understanding why a ferro rod firestarter works so well builds essential confidence. A ferro rod is a man-made metal alloy, primarily iron mixed with rare earth elements like cerium and lanthanum. This blend creates a material that, when scraped sharply with a hard ferro rod striker (typically steel), shaves off tiny, superheated metal particles. These particles oxidize instantly in the air, creating the brilliant sparks you see. This process is not a chemical reaction that can be “waterlogged”; it’s a mechanical and physical one. Even a dripping wet ferro-rod will produce sparks, as the scraping action removes the wet surface layer to get to the dry metal beneath. The real challenge in wet conditions is not creating the spark, but preparing a receptive “nest” of tinder that can catch that spark and grow into a sustainable flame. That preparation is the cornerstone of wet-weather firecraft.
Before a single spark flies, success is determined by your preparation and mindset.
Before you physically gather a single twig, pause for a crucial two-minute deliberate assessment. This step transforms reactive scrambling into a strategic operation. First, scan your immediate vicinity in a 360-degree circle. Identify not just one, but multiple potential tinder sources—a dead cedar trunk, a cluster of low-hanging birch branches, a dry-ish patch of grass under a spruce. This mental map prevents you from exhausting a single option. Next, evaluate your “fire base” location with a critical eye: is it not only sheltered from falling rain but also protected from wind gusts that could scatter your first precious embers? Is the ground wet mud that will suck heat from your fire, and if so, can you create a platform of stones or bark? Finally, physically lay out all your fire-making resources—your ferro rod, striker, knife, and any carried tinder—in one visible spot. This act does two things: it confirms you have everything at hand, eliminating panic, and it subconsciously commits your mind to the focused task ahead. This brief, mindful ritual bridges the gap between the initial survival mindset and the actionable physical preparation, setting a calm and purposeful tone for the entire fire-building process.
Building your fire from the spark up requires a layered approach, like a pyramid. Each layer must be ready before you ignite the one below it.
1. Primary Tinder (Your Spark Catcher):
This is the most critical material you will prepare. It must be fine, fluffy, and as dry as humanly possible. Your goal is to create a “bird’s nest.”
2. Secondary Tinder (The Flame Grower):
These are tiny twigs, no thicker than a matchstick. Gather a large handful. Shave off the wet outer bark with your knife to expose the dry wood underneath. They will feed the initial flame from your primary tinder.
3. Kindling (The Fire Establisher):
Twigs and splits of wood ranging from pencil-lead to pencil thickness. Again, split them to find dry surfaces. This stage transitions the fire from a fragile flame to a hungry, self-sustaining burn.
4. Fuel (The Fire Sustainer):
Larger splits of wood, from wrist-thick to arm-thick. Arrange these nearby to dry by the coming heat before adding them to the fire.

Now, with all materials prepared and arranged under your shelter, it’s time to light.
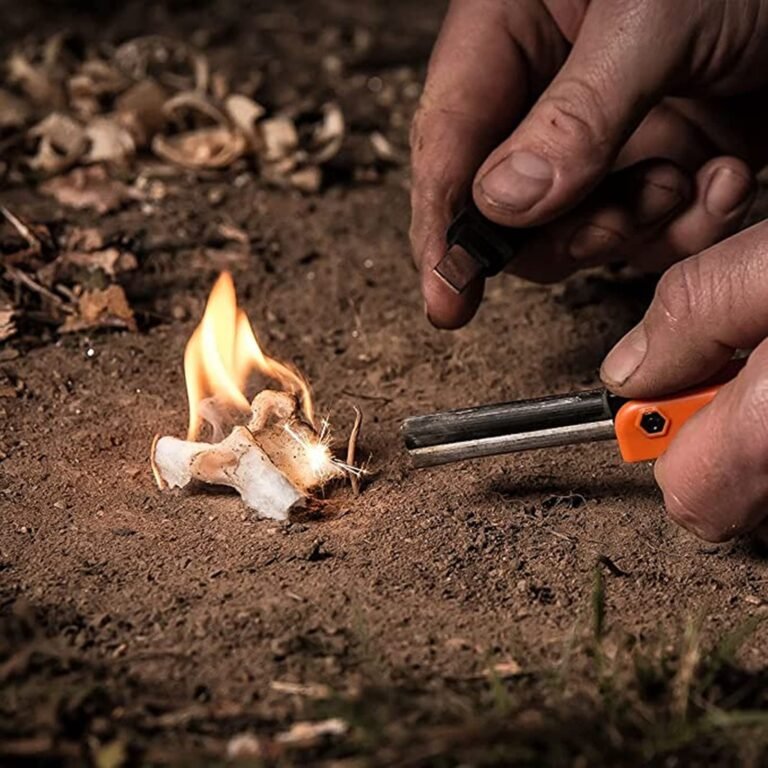
Step 1: Create Your Tinder Platform.
Place a baseball-sized bundle of your driest, fluffiest primary tinder on a flat piece of bark, a rock, or even your notebook. This platform lifts it off the damp ground. Mound it loosely for maximum air flow.
Step 2: Position the Ferro Rod and Striker.
Hold the ferro rod as close to the top of your tinder nest as possible—no more than an inch away. Angle the rod downward, so sparks are directed into the fluffiest center. Grip your ferro rod striker (the back of your knife blade works perfectly) firmly.
Step 3: The Striking Motion for Maximum Effect.
This is not a gentle scratch. Apply firm, controlled pressure with the striker and pull it down the full length of the ferro-rod in a single, decisive stroke. The goal is to shave off a continuous stream of metal, producing a concentrated burst of sparks. Avoid short, choppy strokes. If your tinder is good, you’ll see promising embers on the first or second strike.
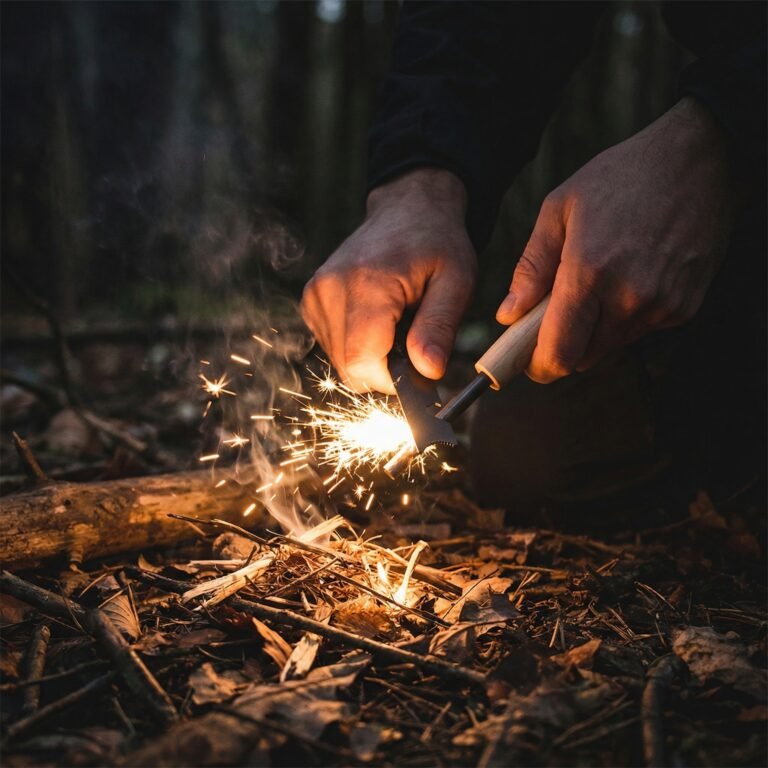
Step 4: Nurture the Embryonic Fire.
The moment an ember glows, stop striking. Gently cup your hands around (not on) the tinder bundle. Lift it slightly and bring it close to your face. Blow with steady, gentle breaths—imagine you’re fogging up a mirror. You are feeding oxygen to the ember, encouraging it to spread. As smoke thickens and the first tiny flame appears, continue blowing gently at its base.
Step 5: Build the Fire, Layer by Layer.
Once your tinder bundle is fully aflame, carefully place it on your prepared fire site. Immediately begin adding your pre-shaved secondary tinder, laying pieces in a teepee or lean-to structure over the flame. Add gradually! Smothering the infant fire is a common error. As the kindling catches, progressively add larger pieces in the same structured manner.
Starting a fire with a ferro rod in wet conditions is the ultimate test of a outdoorsperson’s skill. It separates the prepared from the merely equipped. The ferro rod striker in your hand is a tool of immense potential, but the true fire starter is the knowledge in your mind and the calm, systematic approach you apply under pressure.
Don’t wait for an emergency to test these skills. Practice in your backyard after a rain shower. Experiment with different natural tinders. Get to know the feel of your ferro-rod and the shower of sparks it produces. This practiced familiarity, more than any piece of gear, is what will grant you the unwavering confidence to create warmth and safety from a cold, wet world.
Ready to source bulk ferro rods?
Tell us your target quantity, product style, and packaging requirements—
we’ll send you a detailed bulk quote within 24 hours.
ISO 9001 certified · Direct factory pricing · Custom OEM available