A few winters ago I got stuck on a hillside after dark. My hands were so cold I could barely feel my fingers. My lighter was dead. My matches had turned to mush inside my jacket pocket. The only thing that saved me from a really bad night was a small ferro rod I had clipped to my backpack.
That experience changed how I think about fire. Now I never leave home without an emergency fire kit built around a ferro rod. In this guide I will show you exactly how to build one. Nothing fancy. Just stuff that works when you need it most.
Looking for a reliable ferro rod manufacturer for your brand?
Compare factory pricing, MOQ options, and customization details before you commit.
No commitment · Reply within 24h · MOQ from 50 pcs
Why a Ferro Rod Beats Everything Else
You might be wondering why I am so stuck on using a ferro rod as the heart of my fire kit. Here is why.
It works when wet. You can drop a ferro rod in a puddle, wipe it on your pants, and it will still throw sparks. Matches and lighters cannot do that.
It lasts for years. A single ferro rod can give you thousands of strikes. I have one that I have been using for three seasons and it still throws big sparks.
No fuel to leak or run out. Lighters run dry. Ferro rods do not need fuel. What you see is what you get.
Works in any temperature. I have used a ferro rod in freezing cold and in humid summer rain. Temperature does not bother it.
A ferro rod is not the easiest fire starter to learn. But once you get the hang of it, it is the most reliable one you can carry.
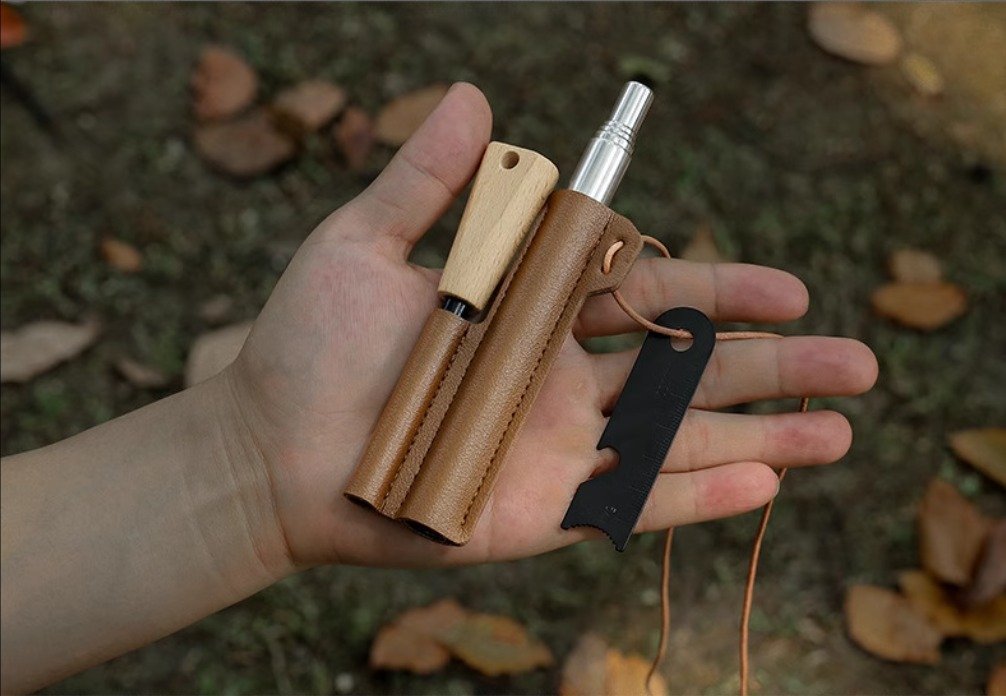
What You Need to Build Your Kit
Building a fire kit around a ferro rod does not require a lot of gear. You can put one together for under twenty bucks. Here is what you need to gather.
The Ferro Rod Itself
This is your main tool. Do not buy the smallest rod you can find just to save space. A tiny rod is hard to hold when your hands are cold or wet.
Look for a rod that is at least four inches long.
Thicker rods around half an inch are easier to grip.
Some rods come with a paracord handle. That paracord can be unravelled later for cordage if you need it.
A few kits also include a small emergency whistle. That is a nice bonus.
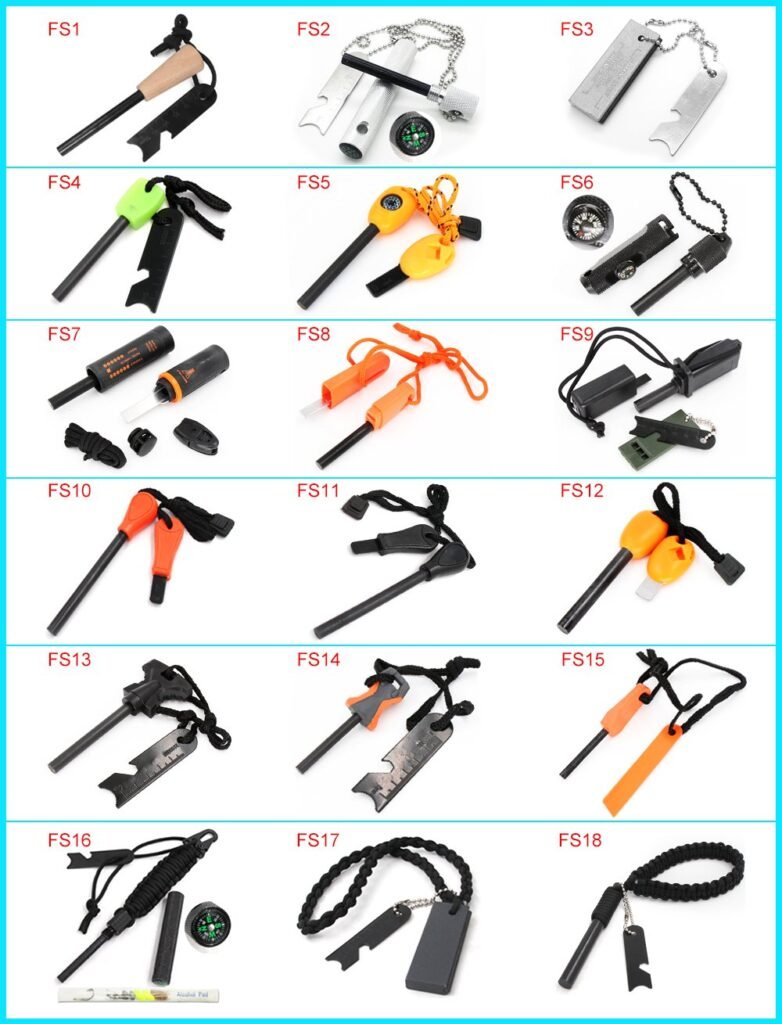
Brands like Bayite and TerDemor make solid ferro rods that do not cost much. You do not need to spend a lot of money here.
A Striker
You cannot use a ferro rod without something to scrape it with. Most rods come with a little metal striker. Those work okay but they are not great.
The best striker is the spine of a good knife. Look for a knife with a sharp ninety degree edge on the back.
If you do not have that kind of knife, buy a dedicated high carbon steel striker.
You can also use a hacksaw blade or the back of a multitool in a pinch.
Avoid using the sharp edge of your knife. That will ruin your blade.
Tinder
Here is where a lot of people mess up. A ferro rod throws sparks, not a flame. You need something that catches those sparks easily.
Cotton balls soaked in petroleum jelly. These are cheap and they work great. Make a bunch and store them in a small zip bag.
Commercial tinder tabs. SOL Tinder Quik tabs are waterproof and each one burns for a couple of minutes.
Fatwood. This is pine wood soaked in resin. It lights fast even when it is damp.
Waxed jute twine. You can wrap this around your ferro rod handle. Fluff up the end and hit it with a spark.
Carry at least two types of tinder in your kit. Redundancy keeps you safe.
A Container
You need something to keep all of this dry and organized.
An Altoids tin works perfectly. It is small, metal, and cheap.
A waterproof match case is another good option.
For something more rugged, look for a small Pelican style case with an O ring seal.
Whatever you choose, make sure it closes tight. A rubber band around the outside adds extra security.
Backup Fire Starters
A ferro rod is your main tool but you should always carry a backup or two.
A mini Bic lighter. Wrap some duct tape around it. That tape can be used for other repairs later.
Stormproof matches. UCO makes good ones. Store them in a sealed container.
A magnifying lens. This takes up almost no space and works on sunny days.
Do not rely on just one way to start a fire.
Step by Step: Putting Your Kit Together
Building the kit only takes a few minutes. Here is how I do it.
Clean your container. If you are using an Altoids tin, take out any leftover mints and wipe it dry.
Put the ferro rod inside. If the rod is too long to fit, get a shorter rod or a bigger container.
Add your striker. Drop it in next to the rod.
Pack your tinder. If you are using cotton balls with petroleum jelly, put them in a small bag first so they do not make a mess. Tinder tabs can go straight in.
Add your backup lighter or matches. Tuck them into any empty space.
Close the tin and shake it. Nothing should rattle around too much. If everything fits snugly, you are good.
Wrap a rubber band around the tin. This keeps it from popping open inside your bag.
Wrap a few feet of duct tape around the outside. Now you have tape for emergency repairs.
That is it. Your emergency fire kit is ready to go.
Need help choosing the right ferro rod style for your market?
Get a custom quote based on your quantity, size, and packaging needs.
✓ Free samples available ✓ Custom logo & packaging ✓ ISO-certified factory
How to Use Your Ferro Rod the Right Way
Having a fire kit is useless if you do not know how to use it. The good news is that using a ferro rod is not hard. You just need the right technique.
The Most Common Mistake
Most beginners try to strike a ferro rod like they are lighting a match. They hold the rod in one hand and the striker in the other and they swipe at the tinder. That scatters sparks everywhere and usually misses the target.
The Correct Technique
Here is the method that works every time.
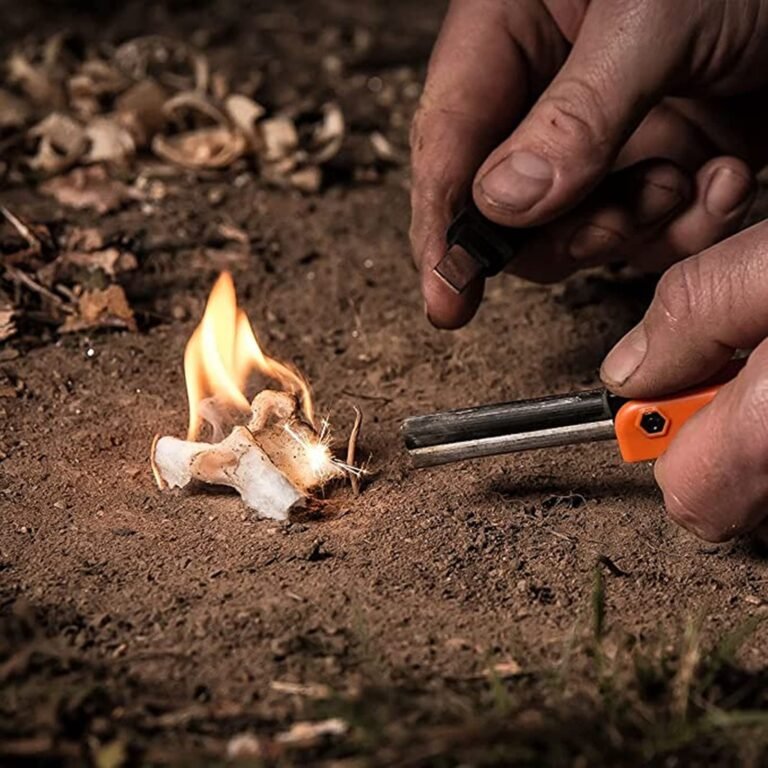
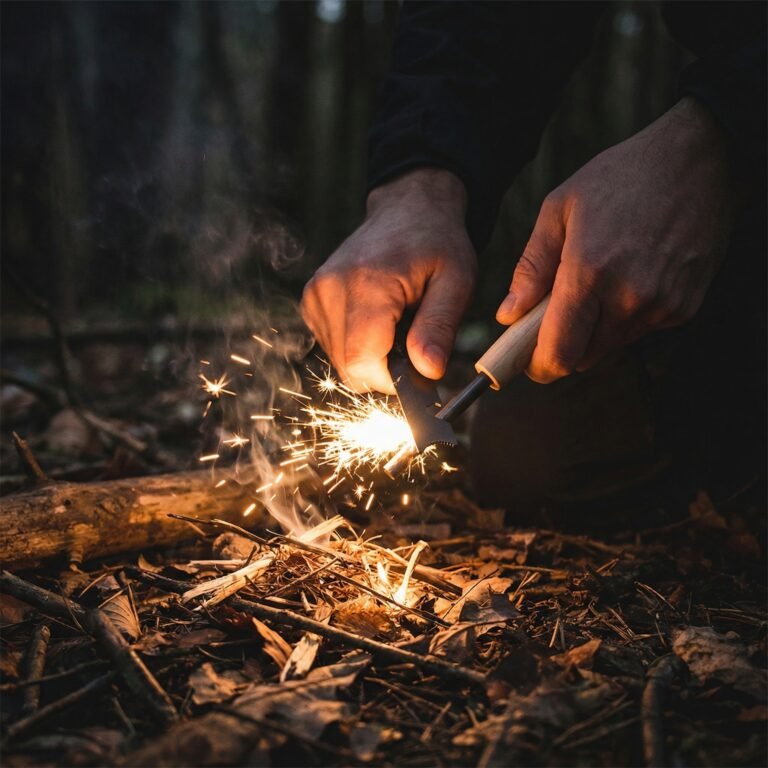
Hold the ferro rod in one hand with the tip touching your tinder nest.
Hold the striker in your other hand and place it against the rod near the handle end.
Instead of moving the striker, pull the rod backward while keeping the striker still.
The sparks will land right on your tinder because you are not waving the striker around.
A Few More Tips
Keep your striker at about a forty five degree angle to the rod. That gives you the most friction.
Apply firm pressure. Light swipes do nothing. You need to scrape off actual metal particles.
If your tinder is damp, try scraping slowly a few times to build up a little pile of unlit metal dust on top. Then give it one hard scrape. That pile of dust will ignite all at once.
Practice this in your backyard on a dry day before you actually need it.
What to Do When the Weather Is Bad
Rain and snow make fire starting harder but a ferro rod can still get the job done. You just need to adjust your approach.
Finding Dry Fuel
Look up. The little dead branches hanging under evergreen trees stay dry even after days of rain.
Split open dead standing wood. The inside is usually dry.
Avoid anything lying on the ground. That stuff is almost always soaked.
Preparing Your Tinder
Bring more tinder than you think you need. You might fail a few times before you get a fire going.
If you have fatwood, split it open. The resin soaked center will light even when the outside is wet.
Keep your tinder inside your jacket until you are ready to use it. Your body heat keeps it dry.
Protecting Your Fire Kit
Do not leave your kit sitting in the rain while you work.
Open your container only when you are ready to use it.
Close it again as soon as you have what you need.
Bad weather is exactly when you need a ferro rod. Lighters struggle in wind and cold. Matches fall apart when wet. A ferro rod just works.
Where to Keep Your Fire Kit
A fire kit does you no good if it is sitting in a drawer at home when you need it. I keep fire kits in a few different places.
In my car. One kit lives in the glove box.
In my hiking backpack. This one gets used the most.
In my jacket pocket when I am out in the woods.
In my emergency bag that stays by the door at home.
You do not need a huge kit for each location. A small Altoids tin kit is fine for most situations.
Common Mistakes to Avoid
I have made all of these mistakes so you do not have to.
Using the sharp edge of your knife. Always use the spine. A sharp edge will get dull fast and it actually throws worse sparks.
Scraping too lightly. You need to use some force. Soft swipes just wear down the rod without making sparks.
Holding the rod too far from your tinder. Keep the tip right in the tinder nest.
Not preparing kindling first. Once you get a flame you do not want to be running around looking for sticks.
Testing your ferro rod inside a tent. Those sparks can fly six feet and they will melt holes in nylon instantly.
Avoid these and you will have a much easier time.
A Few Extras You Might Want
Your basic fire kit is already solid. But you can add a couple more items if you have room.
A small folding knife. Useful for shaving wood and cutting tinder. Make sure the spine is squared off so it works as a striker.
A magnesium block. You scrape off magnesium flakes and light them with your ferro rod. Magnesium burns incredibly hot.
A fresnel lens. This is a tiny plastic magnifying sheet. It takes up almost no space and can start a fire on sunny days.
A piece of inner tube. This works as a waterproof container and the rubber itself burns like crazy if you need it.
Do not overload your kit. Keep it small enough that you will actually carry it.
Conclusion
Building an emergency fire kit around a ferro rod is one of those ten minute projects that could save you from a really bad situation. You do not need expensive gear. A cheap ferro rod, some cotton balls with petroleum jelly, and an old mint tin will get you there.
The most important step is to practice. Do not wait until you are cold, wet, and stressed to figure out how your gear works. Go out in your backyard on a dry afternoon and light some fires. Mess up a few times. Learn what works for you.
Once you get comfortable with a ferro rod, you will have a fire starter that works anywhere, in any weather, for years. That is peace of mind you cannot buy in a store.
Ready to source bulk ferro rods?
Tell us your target quantity, product style, and packaging requirements—
we’ll send you a detailed bulk quote within 24 hours.