Request a Quote
Send us a message if you have any questions or request a quote. Our experts will give you a reply within 24 hours and help you.
The temperature is dropping rapidly, your fingers are growing numb, and your last lighter just sputtered its final flame. This scenario has tested even the most experienced outdoors people, yet those who carry and master the ferro rod fire starter never face true darkness unprepared. Unlike modern alternatives that fail when wet, freeze in cold, or run out of fuel, the humble ferro rod represents certainty—the certainty that you can create fire when it matters most.
This comprehensive guide goes beyond basic instructions to explore the art and science of ferro rod fire making. Whether you’re a backpacker, hunter, camper, or survival enthusiast, mastering this tool will transform your relationship with fire and significantly boost your wilderness confidence. We’ll cover everything from the metallurgy behind these remarkable tools to advanced techniques that work in challenging conditions, providing you with the knowledge to become truly fire-independent.
A ferro rod (short for ferrocerium rod) represents one of the most significant advancements in portable fire-making technology since the match. Invented in 1903 by Austrian chemist Carl Auer von Welsbach, ferrocerium is a synthetic alloy composed primarily of iron (Fe) and cerium (Ce), typically combined with other rare-earth metals including lanthanum, neodymium, praseodymium, and magnesium.
The magic lies in ferrocerium’s pyrophoric properties—meaning it ignites spontaneously when exposed to air when shaved into small particles. The cerium, with its surprisingly low ignition temperature of 150-180°C (302-356°F), provides the spectacular spark production, while the iron adds structural durability and increases the temperature of the resulting sparks. This combination creates sparks that burn at an incredible 3,000°C (5,400°F)—hot enough to ignite most proper tinder materials instantly.
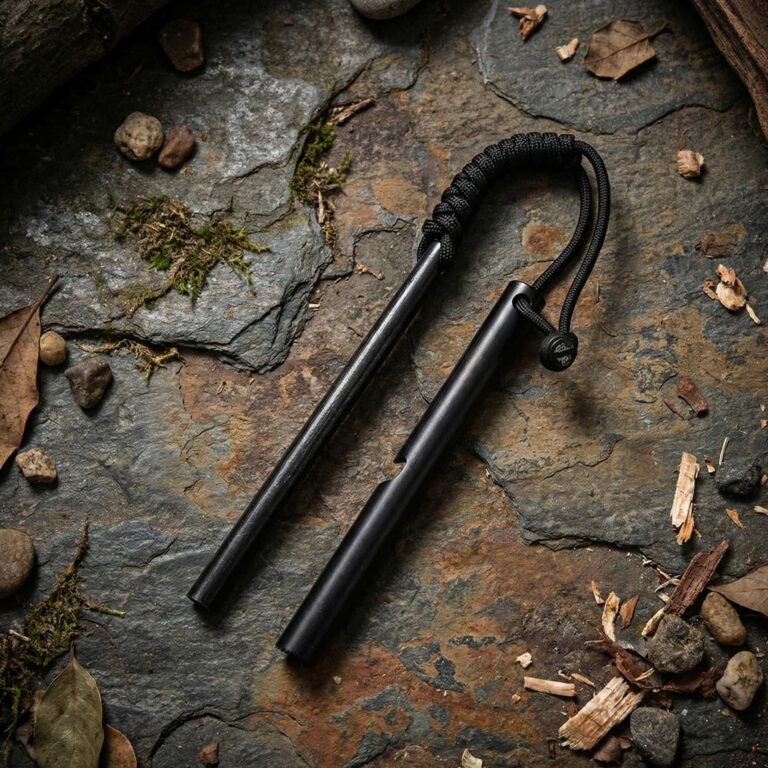
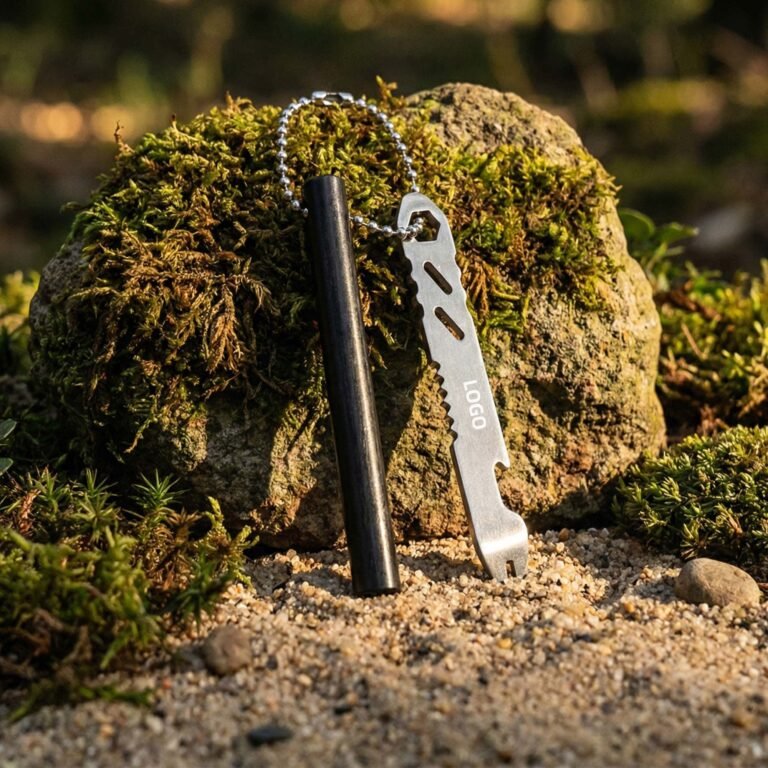
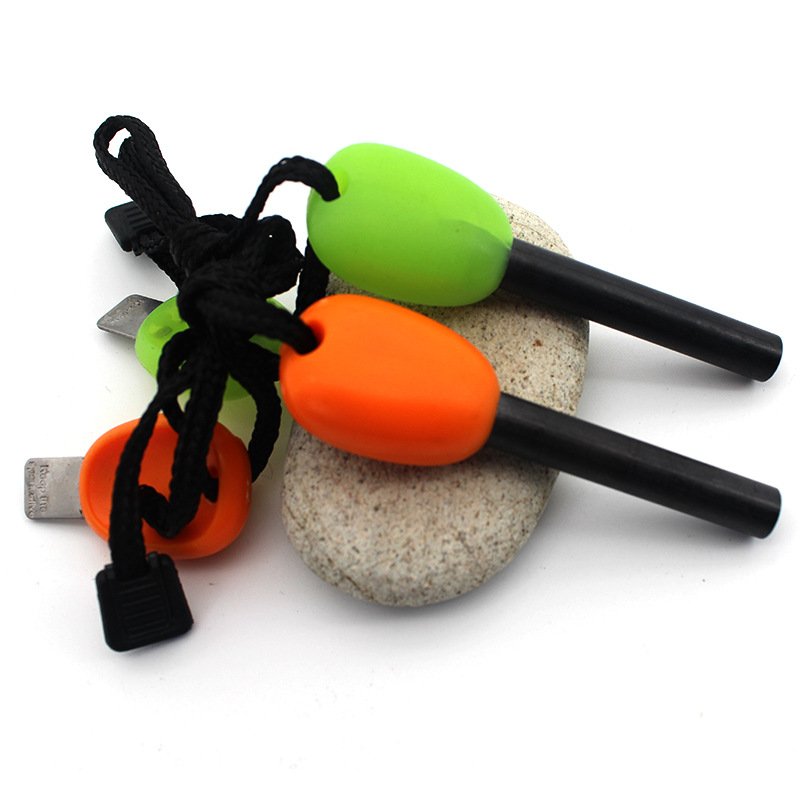
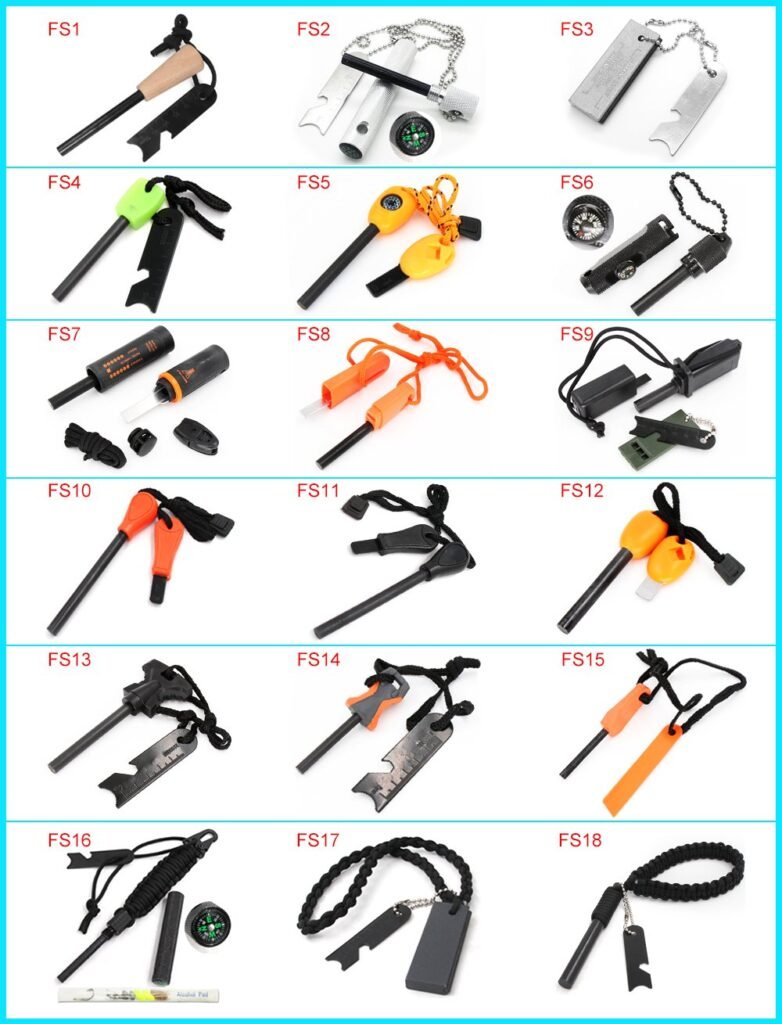
Ferro rods come in various configurations, each with distinct advantages:
When selecting your first ferro rod firestarter, consider a medium-sized model (approximately 1/2″ diameter and 4-5″ long) as it offers an excellent balance between spark production, durability, and portability.
Not all ferro rods are created equal. Quality matters significantly in spark production and rod longevity. Premium rods typically contain a higher percentage of rare-earth metals, producing more and hotter sparks. A quality ferro-rod should feel substantial in hand, have a clearly visible metallic composition (not just a black painted exterior), and throw impressive sparks even with gentle strikes.
Your ferro rod striker is not merely a piece of scrap metal—it’s a precision tool designed for one purpose: efficiently shaving ferrocerium to create maximum sparks. While many ferro rod kits include a dedicated striker, you can use any piece of high-carbon steel with a sharp, hardened 90-degree edge. The back of a knife blade often works well, though dedicated strikers typically offer better ergonomics and control.
Avoid using stainless steel knives with soft spines, as they tend to glide over the rod without producing sufficient spark. If you’re purchasing a dedicated striker, look for one with pronounced jimping (grip ridges) on the spine for better control.
Your ferro rod produces incredible heat, but only for milliseconds—meaning your tinder must catch these brief sparks instantly. Successful ferro rod use depends almost entirely on proper tinder selection and preparation.
Commercial Tinders:
Natural Tinders:
Improved Natural Tinders:
The key characteristic of good tinder is high surface area with low density—fluffy materials with plenty of air pockets that can catch a spark and transfer its heat to surrounding material quickly.
Before even touching your ferro rod, prepare your tinder nest meticulously. Gather a palm-sized amount of your chosen tinder and work it between your fingers to break up the fibers and create air pockets. Form it into a loose ball or “bird’s nest” shape, creating a depression in the center to catch sparks. The fluffier your tinder, the better it will catch sparks.
Pro Tip: Always prepare twice as much tinder as you think you’ll need. It’s better to have extra than to watch your ember die because you ran out of material.
Hold the ferro rod close to your tinder nest—ideally just 1-2 inches above the depression you created. Many beginners hold the rod too far from the tinder, allowing sparks to dissipate before reaching their target. Angle the rod downward at approximately 45 degrees toward your tinder bundle. This positioning directs the spark stream precisely where needed.
This is where most beginners struggle, but proper technique becomes second nature with practice:
Use a swift, confident, controlled motion, applying significant pressure. You’re not scratching the surface—you’re shaving off substantial metal particles to create a concentrated burst of sparks. The goal is to produce a single, dense stream of sparks rather than multiple weak attempts.
*Safety Note: Always be conscious of finger placement. Keep them clear of the striking path and the spark stream. Wear gloves initially if concerned about hot sparks or accidental slips._
When your technique is correct, you’ll see bright sparks land in your tinder and notice almost immediate wispy smoke—the first sign of success. This is your material beginning to smolder.
The transition from ember to flame might take 15-30 seconds. Be patient—rushing this process by blowing too hard can extinguish your fragile ember.
Once your tinder bundle bursts into flames, the race against time begins. You have approximately 30-60 seconds before the tinder is consumed.
This progressive approach prevents smothering the young flame with material that’s too large too soon.

Problem: Sparks aren’t catching
Problem: Insufficient spark production
Problem: Tinder glows but doesn’t flame
Problem: Rod seems “dead” or produces weak sparks
When natural tinder is scarce or damp, the ability to create a feather stick becomes invaluable. Select a dry, dead stick (softwoods like cedar or pine work best). Using your knife, make thin, curling shavings along the stick, leaving them attached at the base. This creates tremendous surface area that will catch a spark beautifully. A well-made feather stick can burn for several minutes—plenty of time to add other kindling.
The true test of your ferro rod skills comes in adverse conditions. In rain or snow:
Though incredibly durable, your ferro-rod benefits from simple maintenance:
A quality ferro rod should last for thousands of strikes—often the entire lifetime of the owner.
True mastery comes when you can reliably create fire under challenging conditions. Consider these development stages:
Progress through these stages by practicing in increasingly difficult scenarios—start in your backyard on a calm day, then progress to windy conditions, then try after rainfall.
Mastering the ferro rod represents more than learning a outdoor skill—it’s about reclaiming a fundamental human capability. In an age of technological dependency, the ability to create fire with simple tools provides a profound connection to our ancestors and a tangible sense of self-reliance.
Your ferro rod fire starter isn’t just a backup; it’s a statement of independence from modern limitations. The learning curve is brief, the tool is affordable and durable, and the payoff is immense: the certainty that wherever you wander, you carry the ability to create warmth, safety, and comfort.
Now that you’re equipped with comprehensive knowledge, the next step is practice. Start today—gather your materials, find a safe space, and strike your first confident spark. The journey to fire mastery begins with a single shower of sparks.